Installation of Pipeline Valves
Mar 24, 2024
General Installation Guidelines of Pipeline Valves:
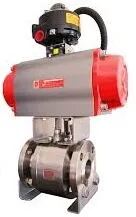
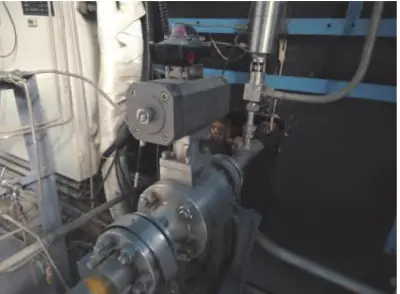
1. The position of valve installation should not hinder the operation, disassembly, and maintenance of equipment, pipelines, and the valve body itself. Additionally, aesthetic considerations regarding assembly should be taken into account.
2. Valves on horizontal pipelines should be installed with the valve stem facing upwards or at a certain angle, but never with the handwheel downwards. Valves, valve stems, and handwheels on elevated pipelines can be horizontally installed, and a chain extending downwards can be used for remote operation of the valve.
3. Arrangements should be symmetrical and orderly for aesthetic purposes. For valves on upright pipes, where feasible, the handwheel should be positioned at chest height for optimal operation, generally at a height of 1.0-1.2m from the ground, with the valve stem installed in the direction of the operator.
4. Valves on parallel vertical pipes should have consistent centerline elevations, and the distance between handwheels should be no less than 100mm. Valves on parallel horizontal pipelines should be installed staggered to reduce the distance between pipes.
5. For heavier valves installed on equipment such as pumps and heat exchangers, valve brackets should be provided. For valves subject to frequent operation and installed more than 1.8m from the operating surface, a fixed operating platform should be installed.
6. Valves with arrows marked on the valve body indicate the direction of flow of the medium. When installing valves, ensure that the arrow points in the same direction as the flow of the medium inside the pipeline.
7. When installing flanged valves, ensure that the two flange end faces are parallel and concentric, and double gaskets should not be used.
8. For threaded valves, to facilitate disassembly, each threaded valve should be equipped with a swivel joint. The arrangement of swivel joints should consider ease of maintenance, typically with the flow of water passing through the valve before the swivel joint.
Pre-Installation Checklist:
1. Carefully check and verify whether the valve model and specifications comply with the requirements of the drawings.
2. Check whether the valve stem and valve disc can open flexibly without jamming or skewing.
3. Inspect the valve for damage, and ensure that the threads of threaded valves are straight and complete.
4. Check the firmness of the connection between the valve seat and the valve body, as well as the connection between the valve disc, valve seat, valve cover, valve body, and valve stem.
5. Check whether the valve gaskets, packing, and fasteners (bolts) are suitable for the properties of the working medium.
6. Disassemble old or long-unused pressure-reducing valves, and clean away dust, sand, and other debris with water.
7. Remove the valve cover, inspect the sealing level, and ensure that the valve disc closes tightly.
Previous: Features and Advantages of Steam Control Valves
Next: Connection Methods between Valves and Pipelines


